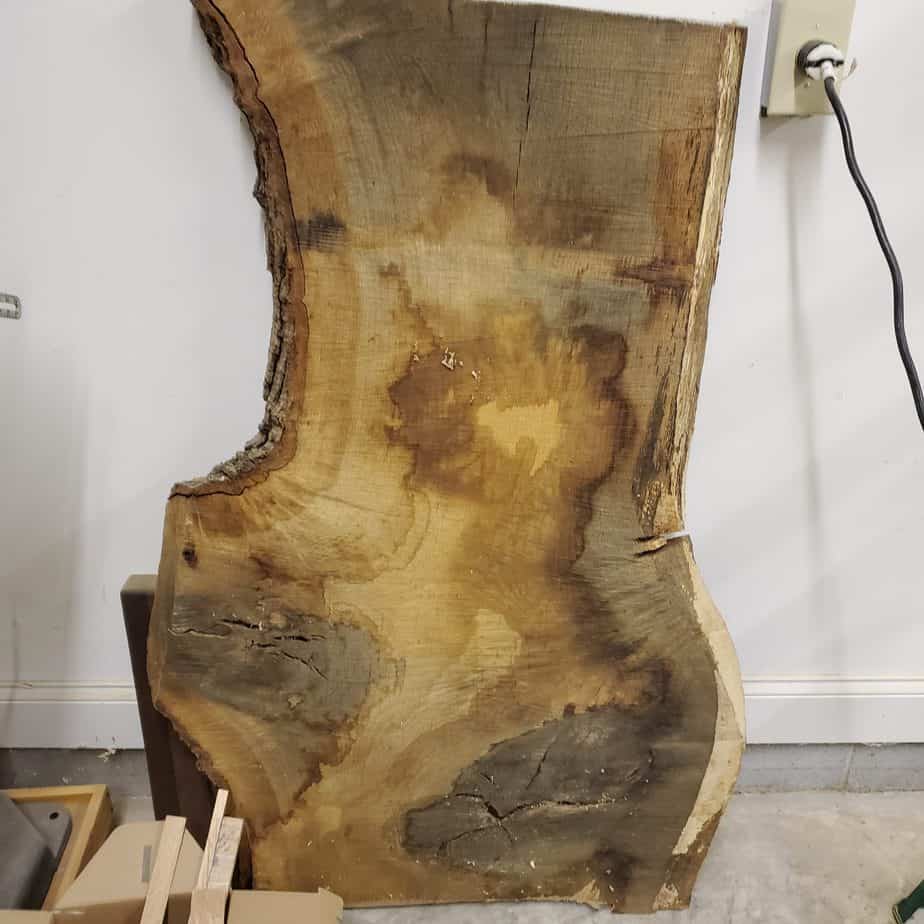
A client came to me and asked if I could make him an Oak side table as a Christmas gift. This was Mid December. Not one to say no I asked him what he was looking for. He asked for a simple table to sit beside his mother’s chair so she could enjoy the view of the property from the window. Sounds simple enough so I asked what type of wood he wanted and size and so on. “Well,” he says “Not to make it more difficult I have this tree I cut down a while back” Remember this is mid-December. Not deterred I pressed on and asked if I could see the wood and asked how long it had been cut down into slabs. He figured about a year or so.
I just happened to be between projects at the time and had wanted to work from slab to finished project for an upcoming project and thought the Oak side table would be a chance to see how it goes. Making no promises I agreed to take on the project. He provided several slabs and I began work.

The slabs had some concerns but he provided enough slabs to make more than one table.
The Slabs for the side table
The slabs are about 2″ to 2 1/2″ thick with several knots to work around. It took about two days of milling and cutting to get the material ready for the table. The first slab milled up fine but after sitting overnight it twisted and warped. The tree had not dried enough to use. I contacted the client and asked if he wanted to try the other slabs or let them dry in my shop for a while. He said to try the other slabs and fortunately, these worked out fine.
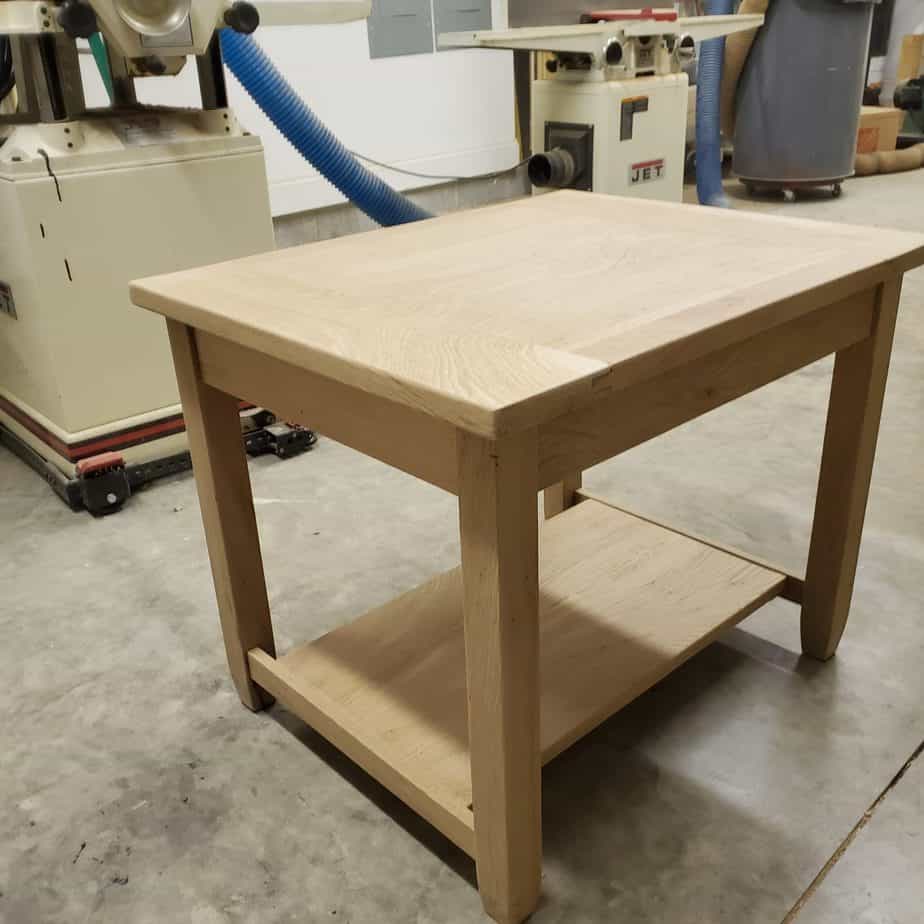
The Table Assembly
I used traditional mortise and tenon joinery to assemble the table. I did not want to use any mechanical fasteners since this was a tree from their property. This was an opportunity to practice my joinery skills. In a past project, I made a large table using through mortise and wedged tenons which you can see here. For more information on Joinery click here.


Assembling the Side Table
I assembled the table using Titebond II wood glue on all the tenons and clamped them together. The glue has plenty of working time allowing me to clamp it all at once. This helped ensure the base was square when dry. I did not have enough larger pieces to make a solid top. The top features a breadboard style assembly which aided in keeping the top flat and providing strength to the table. The tabletop is just over one inch thick which adds to the rigidity of the table.


Final Sanding and Staining
The Table is completed with final sanding and ready for stain. I used General Finishes gel stain in Java. This slowed down the progress due to the drying time. It has been a little cool here in NC lately. After assuring the stain was dry I finished with General Finishes Flat out Flat. The top feels soft to the touch and has a hand-rubbed feeling in my opinion.


Final thoughts
My client understands wood. He enjoys cutting down trees and making slabs. So he knew that it would be a challenge to complete this table in time for Christmas and the slabs were less than ideal. Unfortunately because of the drying time for the stain he had to wait until New Year’s to give it to his mother.
She loves the table and is happy that the tree was from her property adding to the sentimental value from her son.
